
Today, I had a question from one of my customers to protect an Azure WebApp with a certificate. Because it’s for a dev environment, the customer doesn’t want to pay for a certificate. It’s why I proposed to use Let’s Encrypt. The integration with Azure WebApp is free and will renew automatically your certificate, every 3 months. To start, be sure to have a plan in your web app that can support SSL :

A custom DNS must be registered in the WebApp :
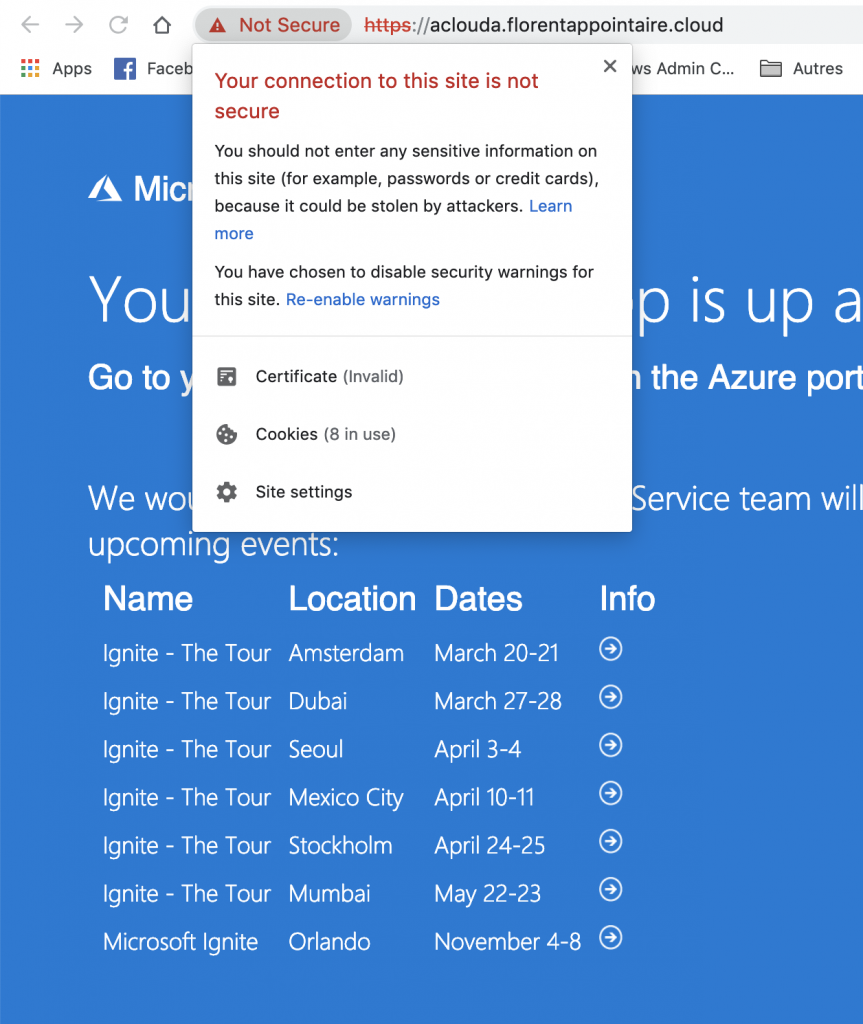
To automate the creation of certificates, we’ll need to have a storage account. Create one, and get the connection string. In your WebApp, in Application Settings, add in App Settings part, the 2 following names, with the value the connection string that you get in your storage account :
AzureWebJobsStorage
AzureWebJobsDashboard

Now, you need to create a new application in your Azure AD, that will have rights to modify the WebApp. In your Azure AD, in App Registrations and click on New application registration:

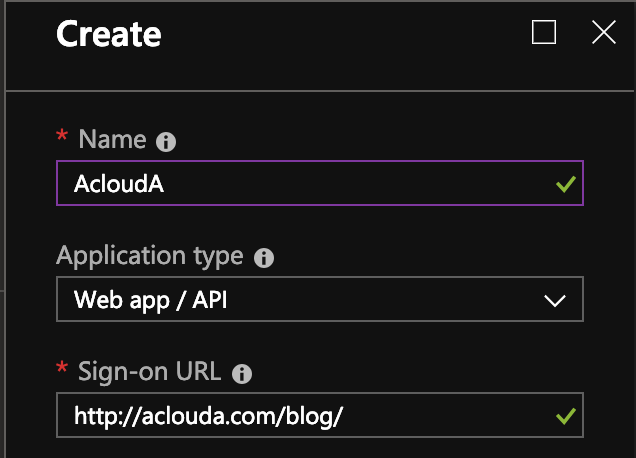
Give it a name, choose the Web app / Api type and give an URL :
Get the Application ID, we will need it later :

Click on the Key part, and generate a new key. Click on Save and copy the key that will appear. You’ll not be able to get it again later :

Give now rights of the application, in your WebApp, as Contributor.
You can create the application with the following PowerShell script:
|
|
$uri = 'http://aclouda.com $password = AP@$$w0rd' $app = New-AzureRmADApplication -DisplayName "FALAConsulting" -HomePage $uri -IdentifierUris $uri -Password $password New-AzureRmADServicePrincipal -ApplicationId $app.ApplicationId New-AzureRmRoleAssignment -RoleDefinitionName Contributor -ServicePrincipalName $app.ApplicationId |
|
Now, navigate to https://youwebsitename.scm.azurewebsites.net and click on Site extensions > Gallery and do a search on Encrypt. You will have 2 results. Install the first version, with Web Jobs, to automate the renew :

Click on the Play logo. If you’re arriving on a webpage, with the following error:

Go on your WebApp, and do a Start/Stop:

And refresh the page with the error. You should now be able to see the following screen:
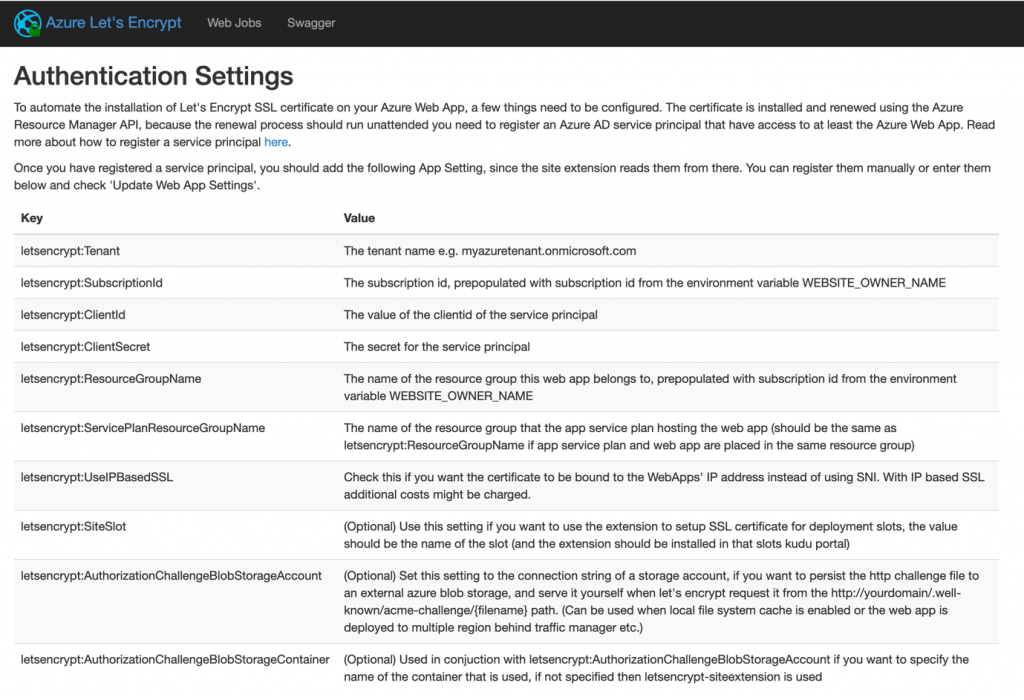
So, here, you need to provide some information :
- Tenant: your Azure AD tenant, with onmicrosoft.com extension
- Subscription Id: the subscription id where your webapp is running
- ClientId: the application id that you get before
- ClientSecret: the password associated to the application created before
- ResourceGroupName: the RG name where the WebApp is stored
- ServicePlanResourceGroupName: the RG name where the Service Plan is stored

Validate. When it’s done, you will be redirected to a new web page, that will list all custom domain registered with the webapp :
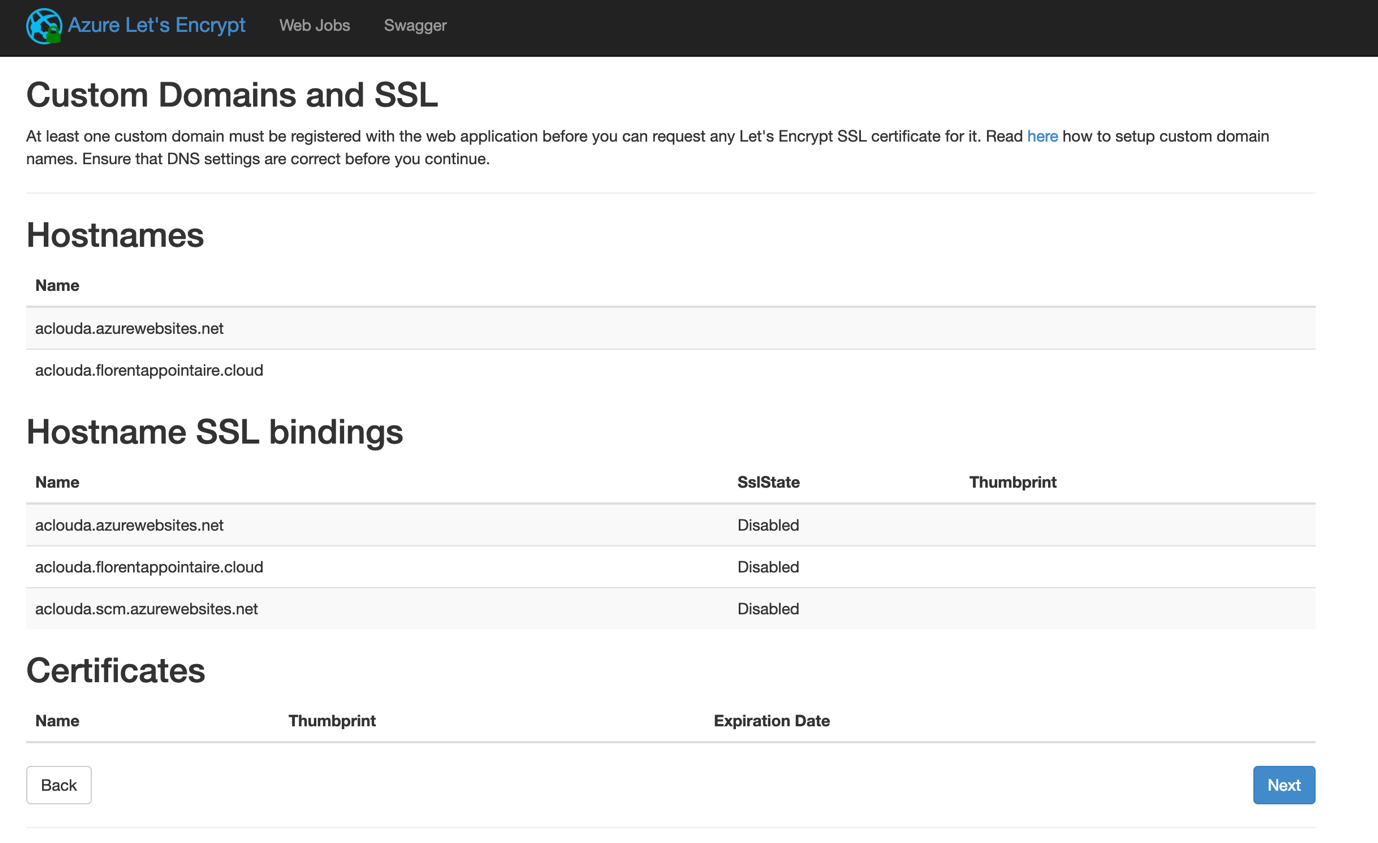
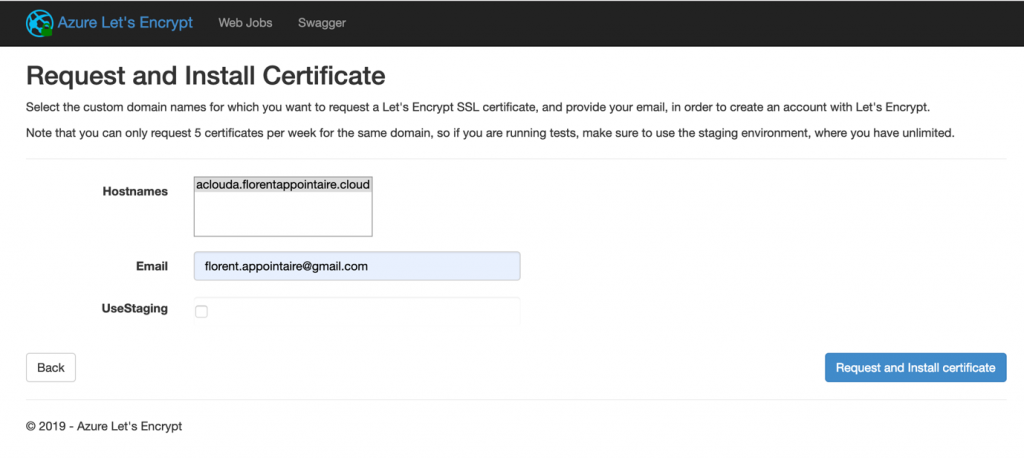
Click on Next. Choose the domain name where you want to create the certificate. To it for each domain of your website. Provide your email and click on Request and Install certificate:
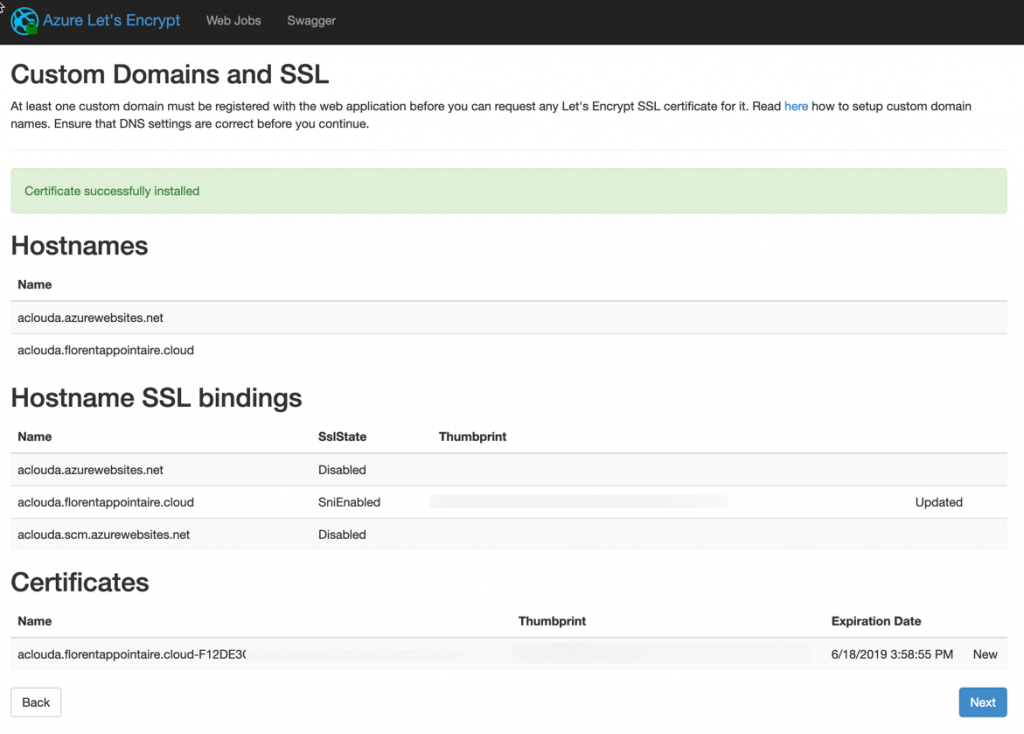
The certificate has been created and associated to the site:
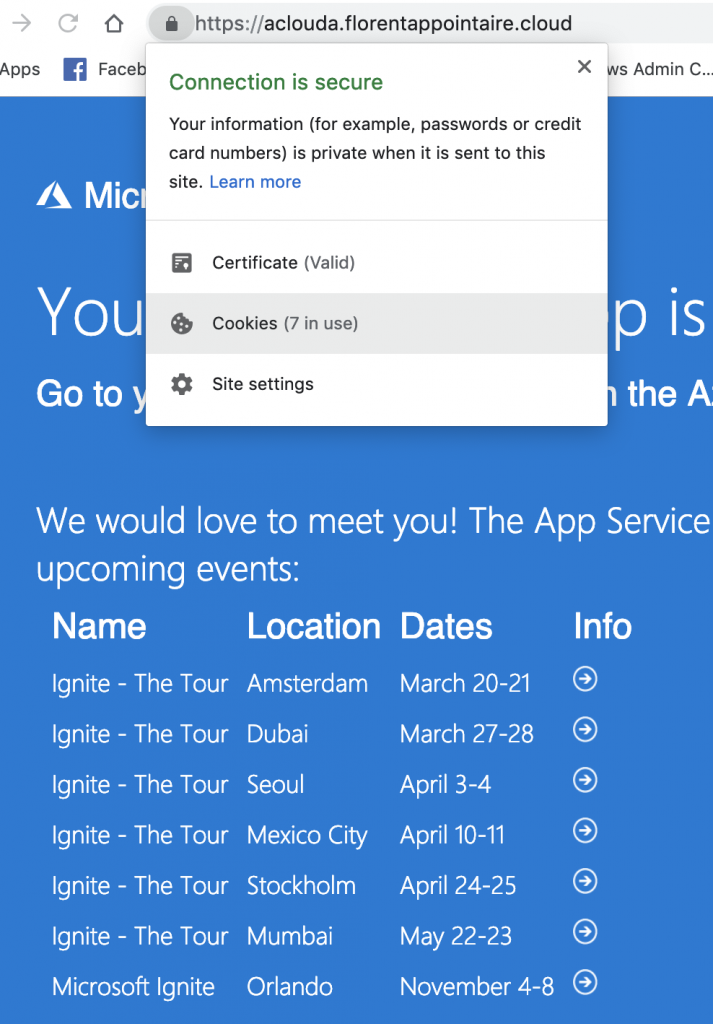
My certificate is now trusted:
To have the automatic renewal of your certificate, you need to activate the AlwaysOn in the Application Settings of the webapp :

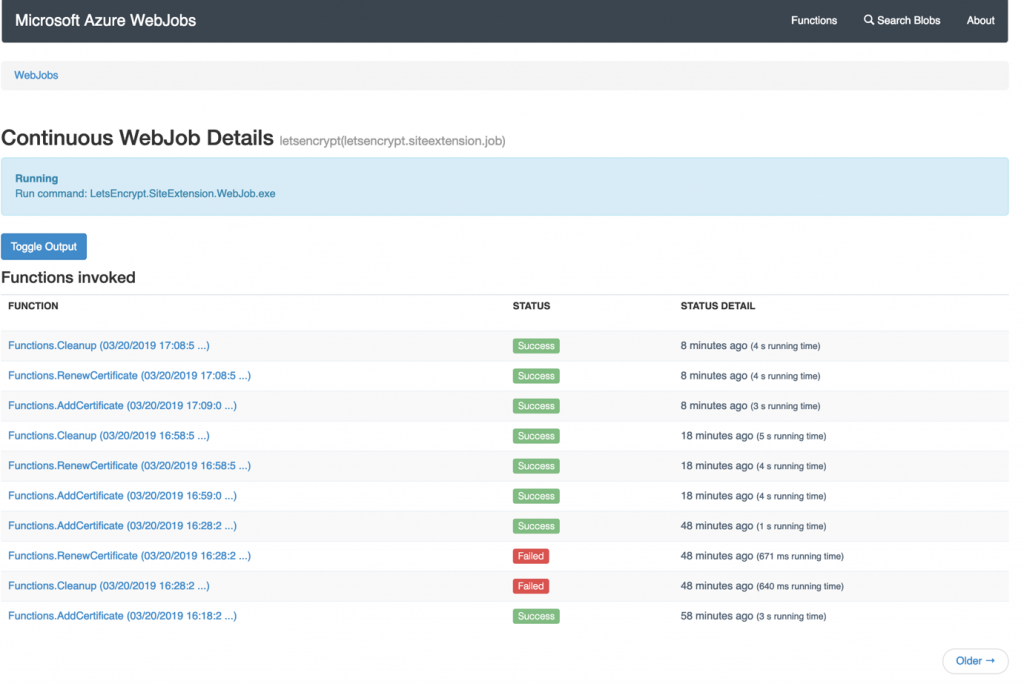
Go next in WebJobs. The status of the Job should be running :

If you click on Logs, you will be redirected to a new page, that will contain all logs for your webapp, and in particular, for Let’s Encrypt renew certificate:
You don’t have anymore excuse to do not protect your website.
Related materials:

Views All Time
1

Views Today
2
The following two tabs change content below.
Filed under:
Software by Florent Appointaire