Install and Configure iSCSI Step-by-Step Guide
Introduction
iSCSI (Internet Small Computer System Interface) is a protocol that is based on TCP / IP and is designed to establish interoperability and management of storage systems, servers and clients.
iSCSI describes:
• Transport protocol for SCSI, which runs over TCP.
• Mechanism for encapsulating SCSI commands in an IP network.
• A protocol for a new generation of storage systems that use native TCP/IP.
The iSCSI protocol is standardized by RFC 3720. There are many commercial and non-commercial implementations of this protocol.
ISCSI-based systems can be built on any reasonably fast physical basis that supports IP, such as Gigabit Ethernet or 10G Ethernet. Using a standard protocol, you can use standard tools for monitoring and controlling the flow, and also significantly reduces the cost of equipment compared to Fiber Channel networks.
Install
- In Server Manager, click Manage, and then click Add Role and Feature. The Add Role and Feature Wizard opens, click Next.
- In Select Installation Type page, ensure that Role-based or Feature-based Installationis selected, and then click Next.
- In Select destination Server, click File and Storage Services, click File and iSCSI Service, and then Select iSCSI Target Server. Click Next.
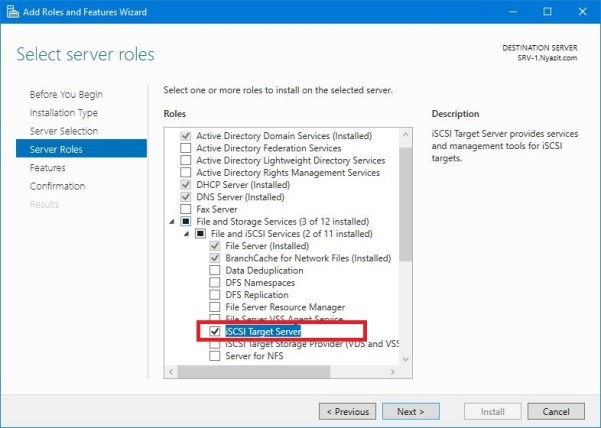
- On the Feature Window, leave the default selection and then click Next. On the Confirm Installation Selection window, check the Restart the destination server automatically if required, and then click Install.

- When the installation process has finished, click Closeand go for configuring iSCSI in Windows server 2016 in the targeted server.
Configure
Create iSCSI LUN. To share storage, the first thing to create an iSCSI lun (aka. iSCSI virtual disk) the iSCSI virtual disk is backed by a VHD. To complete iSCSI target server, the configuration goes to Server Manager.
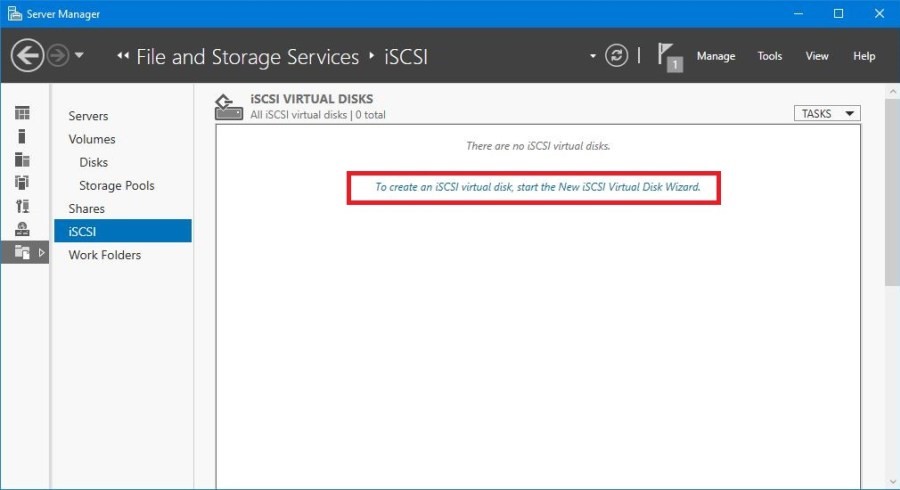
- On “Server Manager” windows, select “File and Storage Services” tab and then click “iSCSI” tab. Click “to create an iSCSI virtual disk, start the new iSCSI virtual disk wizard”.
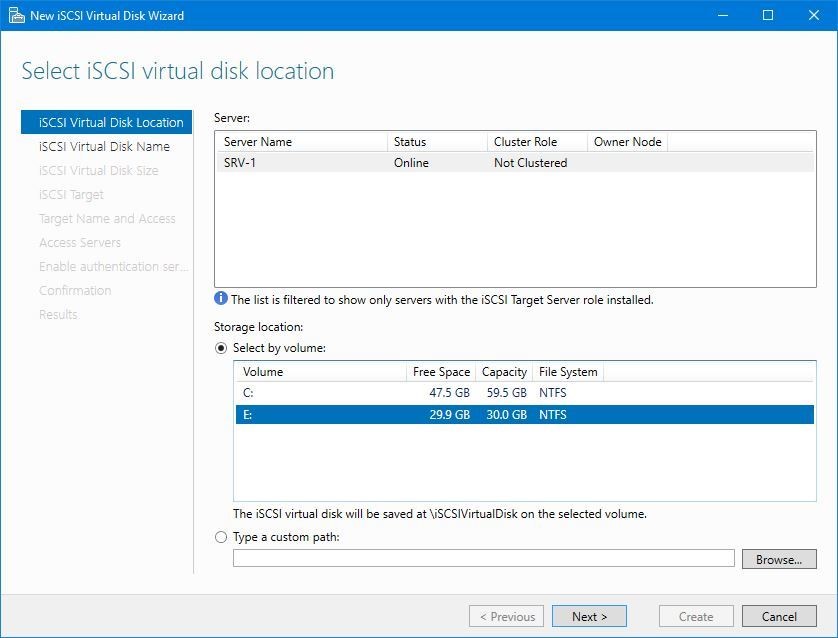
- New iSCSI Virtual disk wizard will open. Here, select the server and select the volume and then click next.
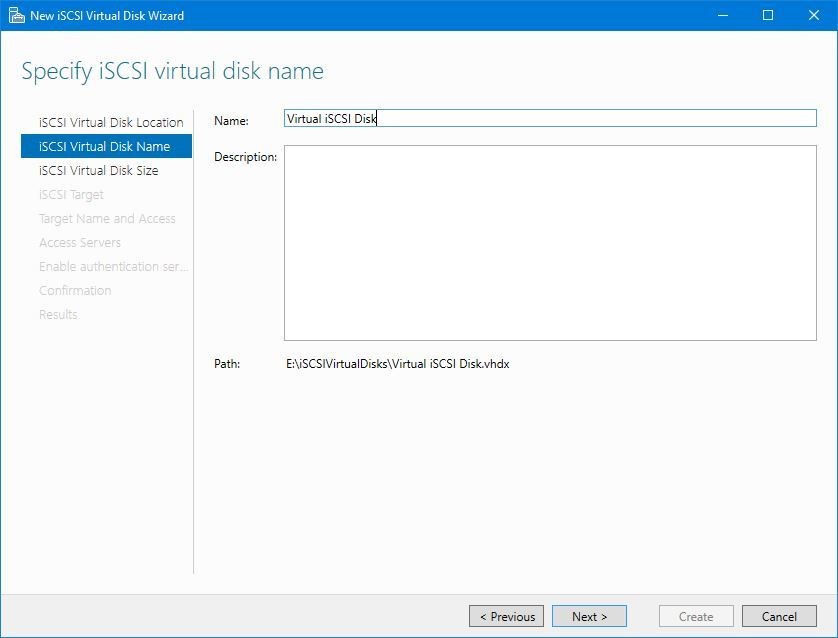
- On the “Specify iSCSI Virtual Disk namewindow”, Type name of virtual disk. Here, I give “Virtual iSCSI Disk” and then click next.
- Specify the virtual disk’s size. Choose the disk type, here I have chosen Dynamically expanding. So, that disk space won’t be over utilized, and then click Next.

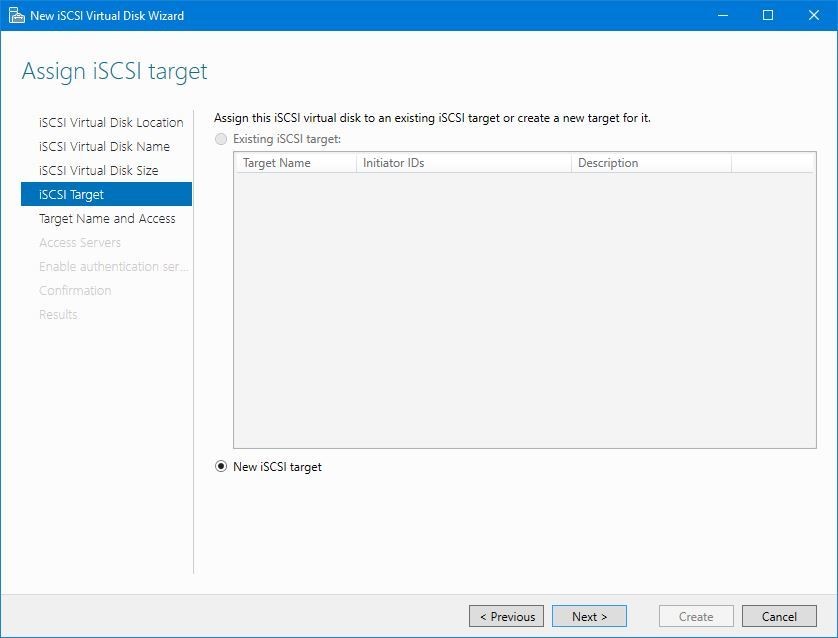
- In the “Assign iSCSI target“page, choose “New iSCSI Target” option and then click Next.
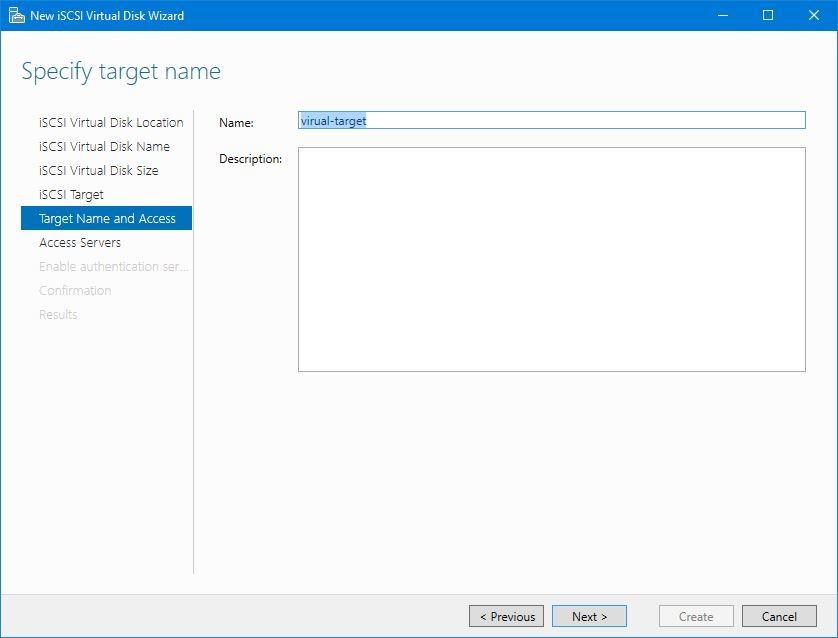
- On the “Specify target name“page, type the name for the new target, and then click Next.
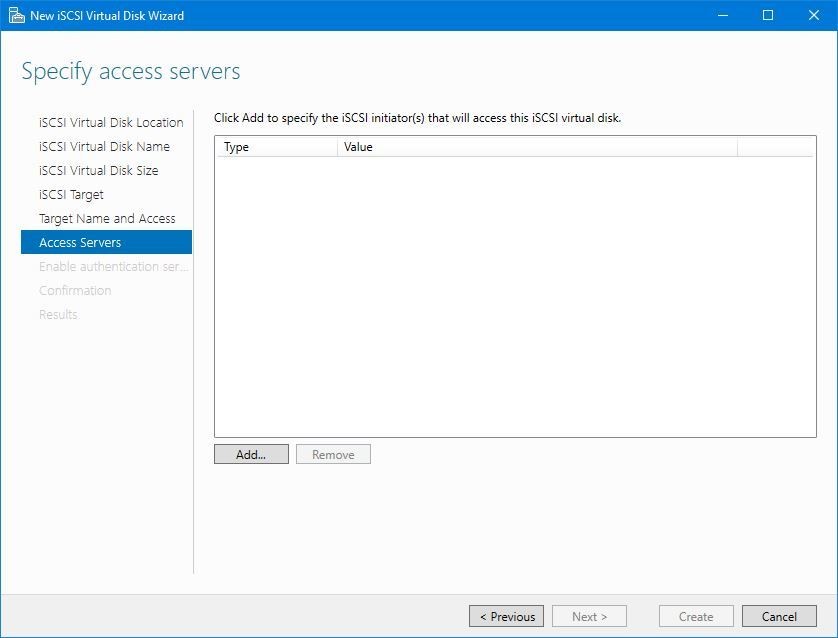
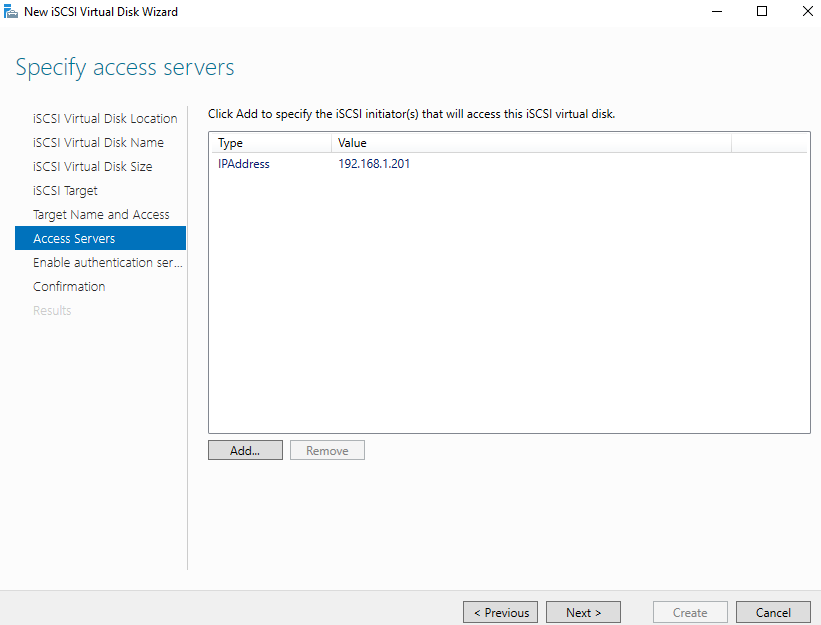
- Click Next to open Access Serverpage, as shown in figure.

- Now come to the Target Server that you want to share storage device from this server. Click Addto specify the iSCSI initiator that will access this iSCSI virtual disk.
- Add initiator IP will open. Click Ok.
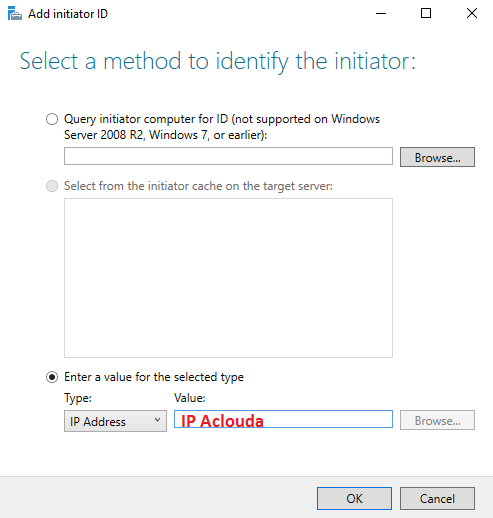
- You will see the initiator IP on the Specify access server screen, then click Next.
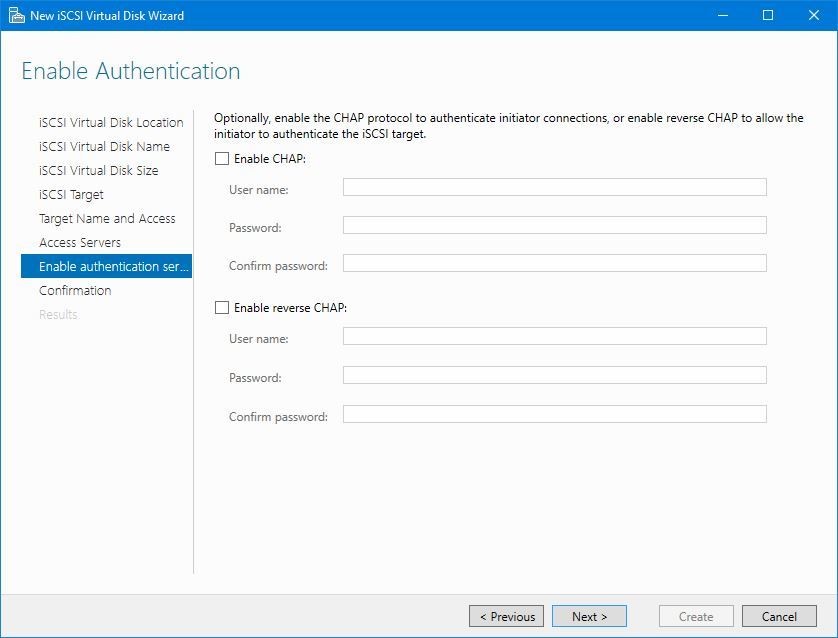
- In the Enable Authenticationpage, you have option to use CHAP or reverse CAHP for Authenticating iSCSI initiator and iSCSI target. Here, I leave will leave it empty and then Next.
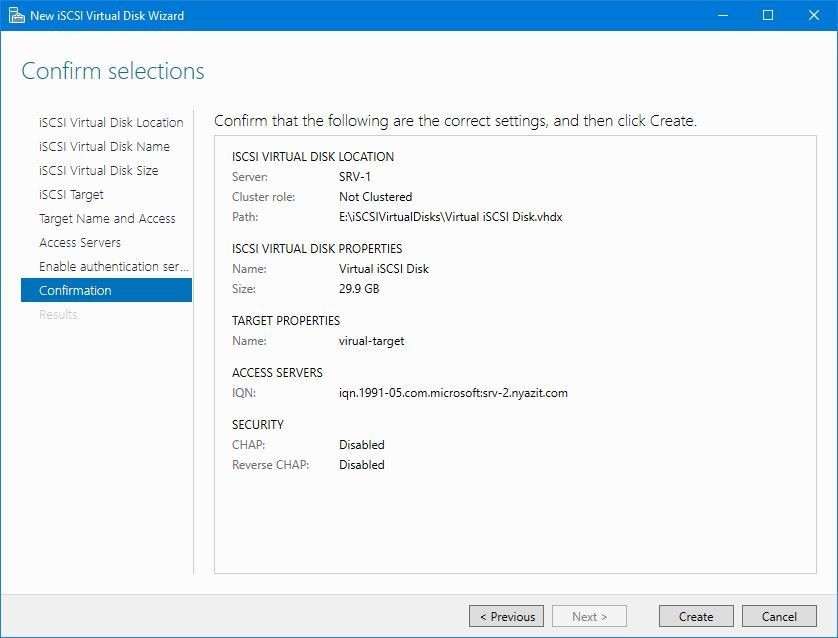
- On the “Confirm Selectin” page, click Createto create a new virtual disk or LUN.
- When the Creating process has finished, click Closeto the View Result window.
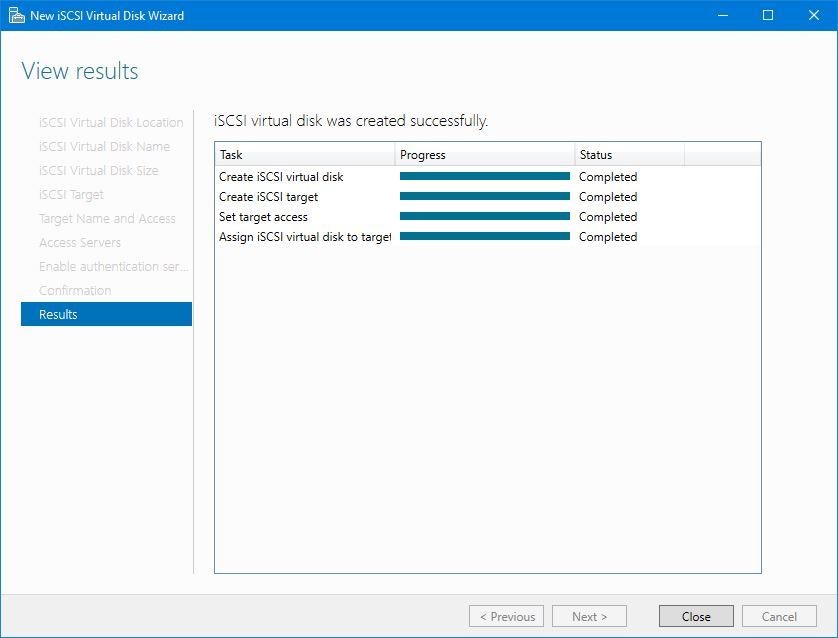
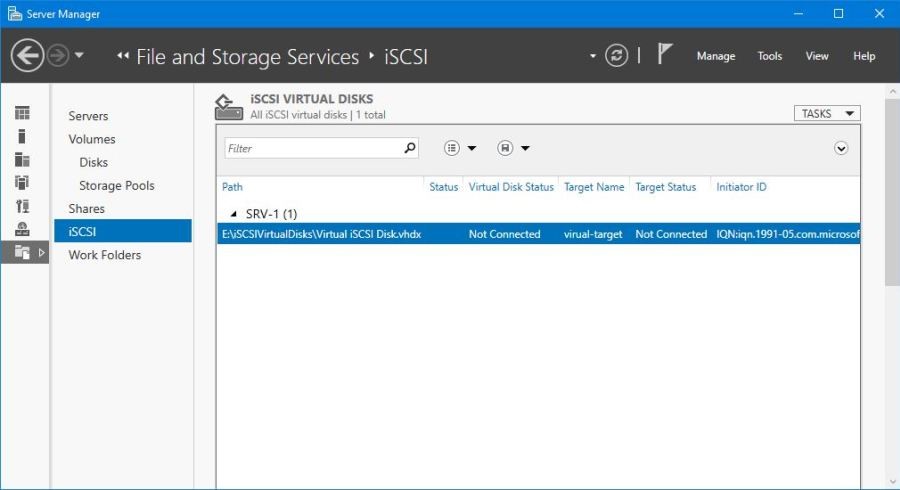
After the Installation you can view the virtual disk in iSCSI tab.
When the configuring iSCSI storage has finished, you should configure iSCSI initiator on the AcloudA. So, now we are going to configure iSCSI initiator, for that you can use our “Quick Start Guide” on the Download page of AcloudA site.
Conclusions
So in that way we deployed and configured a simple iSCSI server based on Windows Server 2016, with the ability to connect via iSCSI to our AcloudA device
Fill the form below to get Extended version of this Guide